
How to Create Your Own Custom GPTs
OpenAI presented a revolutionary new ChatGPT feature at the DevDay conference. This feature allows any user (plus members for now) to build their own personalized GPT models directly in ChatGPT. In this article, I will explain how we can leverage ChatGPT's GPT Builder to create personal AI assistants tailored to your needs.
With ChatGPT's GPT builder, you can simply create your basic personalized GPT in about 10 minutes. All you need is creativity and English, the tool works in other languages but is most efficient in English. The GPT builder guides you through the process as you determine the capabilities and features of your GPT.
Below is a cover image of the GPT (Visual Generator for Content) I created for this blog post.

In this blog, I will briefly cover the following topics:
- Benefits of creating your own GPT
- Step-by-step guidance to create your first GPT
- Advanced customization options to enhance the capabilities of your GPT
- Recommendations to optimize your GPT before publishing
- How to share your finished GPT
Let's start exploring how we can leverage ChatGPT's new tool to create AI assistants tailored to your specific needs.
Benefits of Creating Your Own GPTs
Here are some of the reasons why you might want to take advantage of ChatGPT's GPT generator:
Monetize your GPTs by Publishing them on the GPT Store
OpenAI has announced plans to open an official GPT store where users can publish their custom creations. For GPTs that are significantly utilized, content creators will be able to generate revenue through OpenAI's upcoming revenue-sharing model.
Creating GPTs for Workflows
Adapt a GPT to automate or enhance specific workflows you use in your business by training it on your industry's knowledge base. You can also share this GPT you created privately with your team.
Driving Traffic to Your Website
By adding your website URL to the bio section of your GPT, you can ensure that ChatGPT users organically bring traffic to your site.
Creating Your Own Personalized AI Assistant
You can create a GPT exclusively for your own use, trained with your preferences to serve as a digital assistant customized to your needs.
Automate Your Tasks by Integrating GPTs with Other Apps
You can leverage tools like Zapier to connect your GPTs to external applications, enabling a high level of automation.
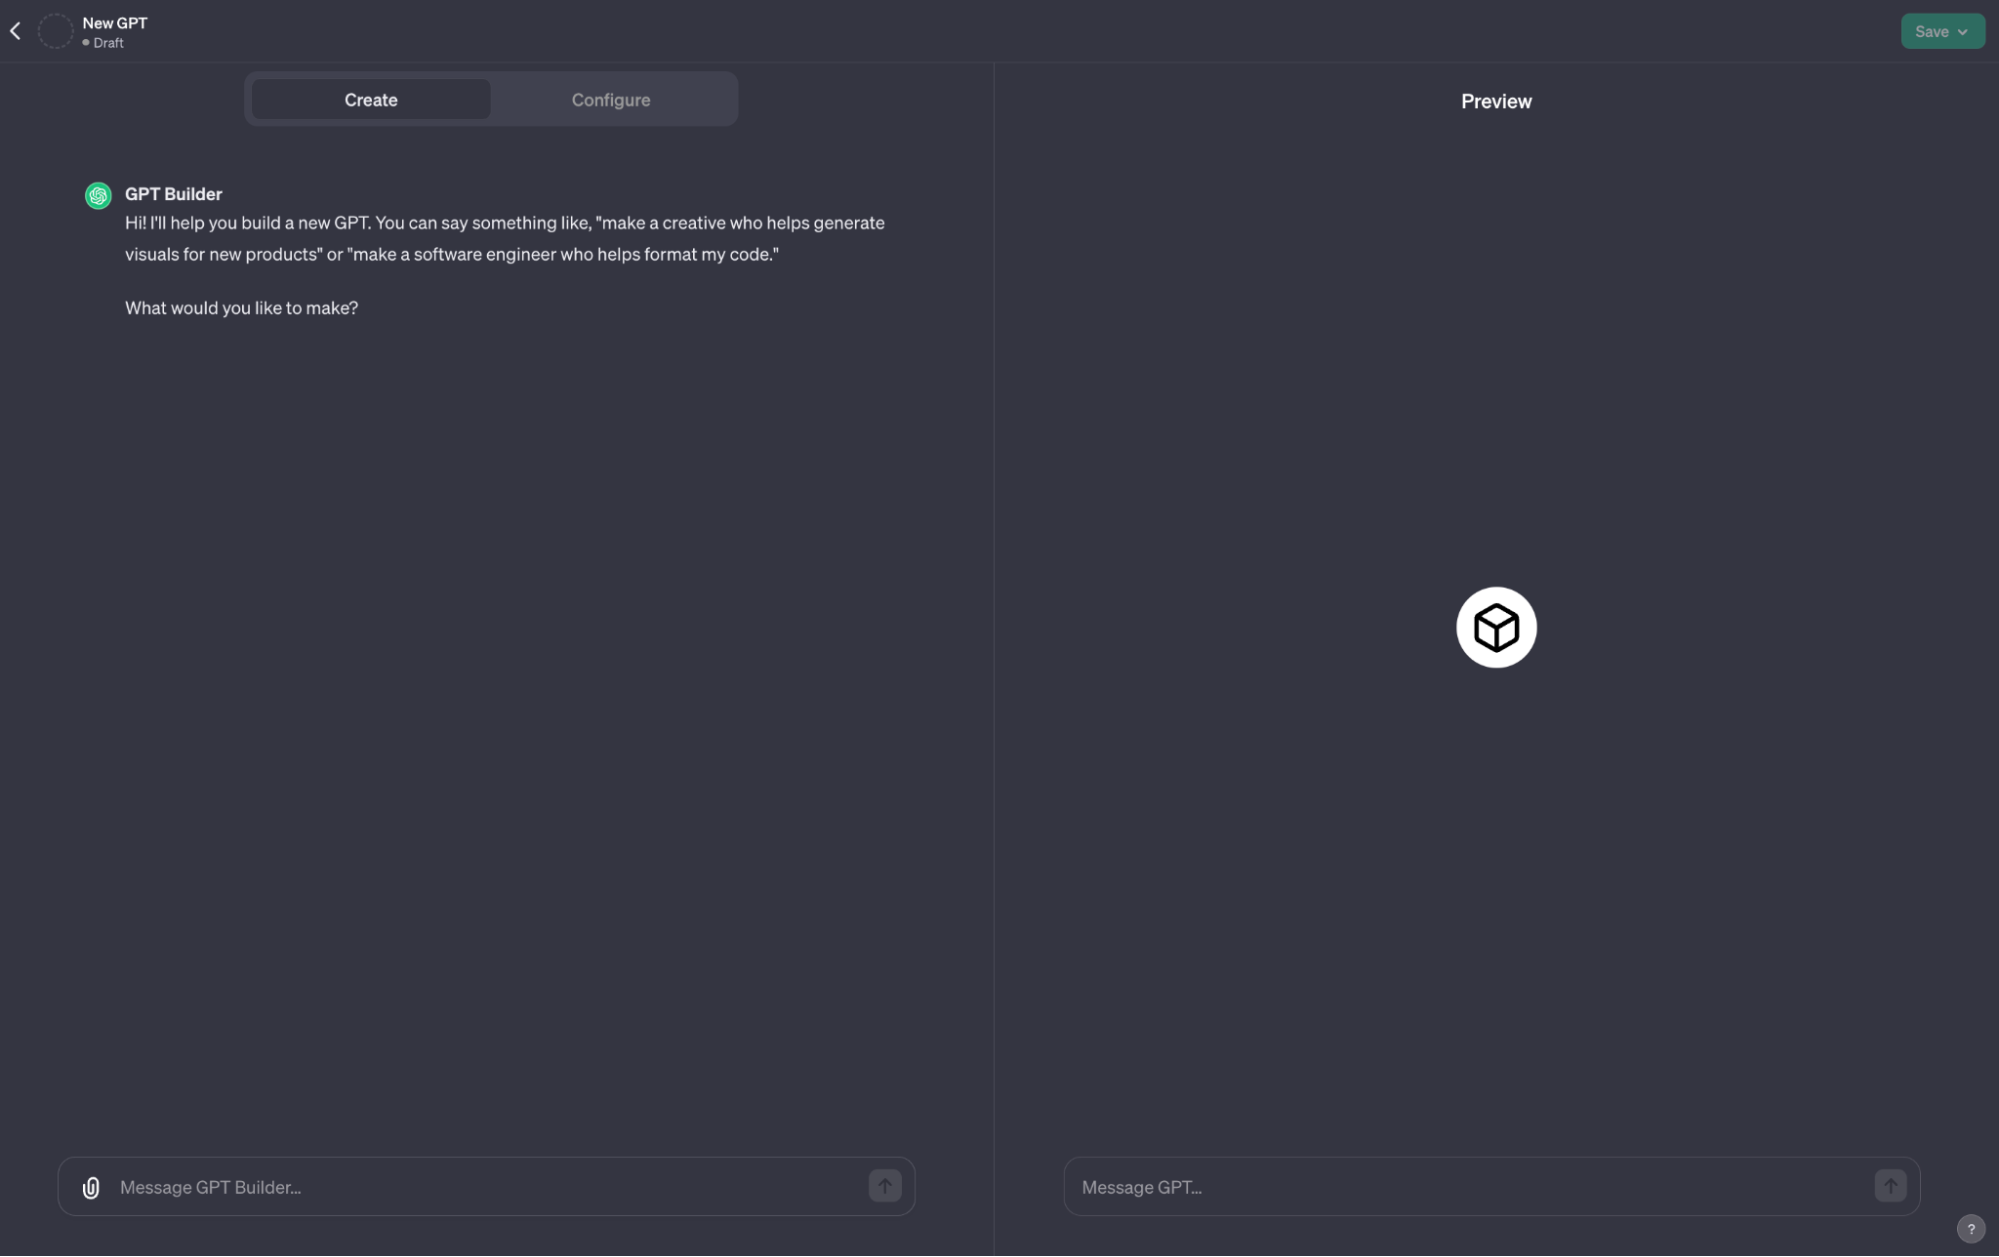
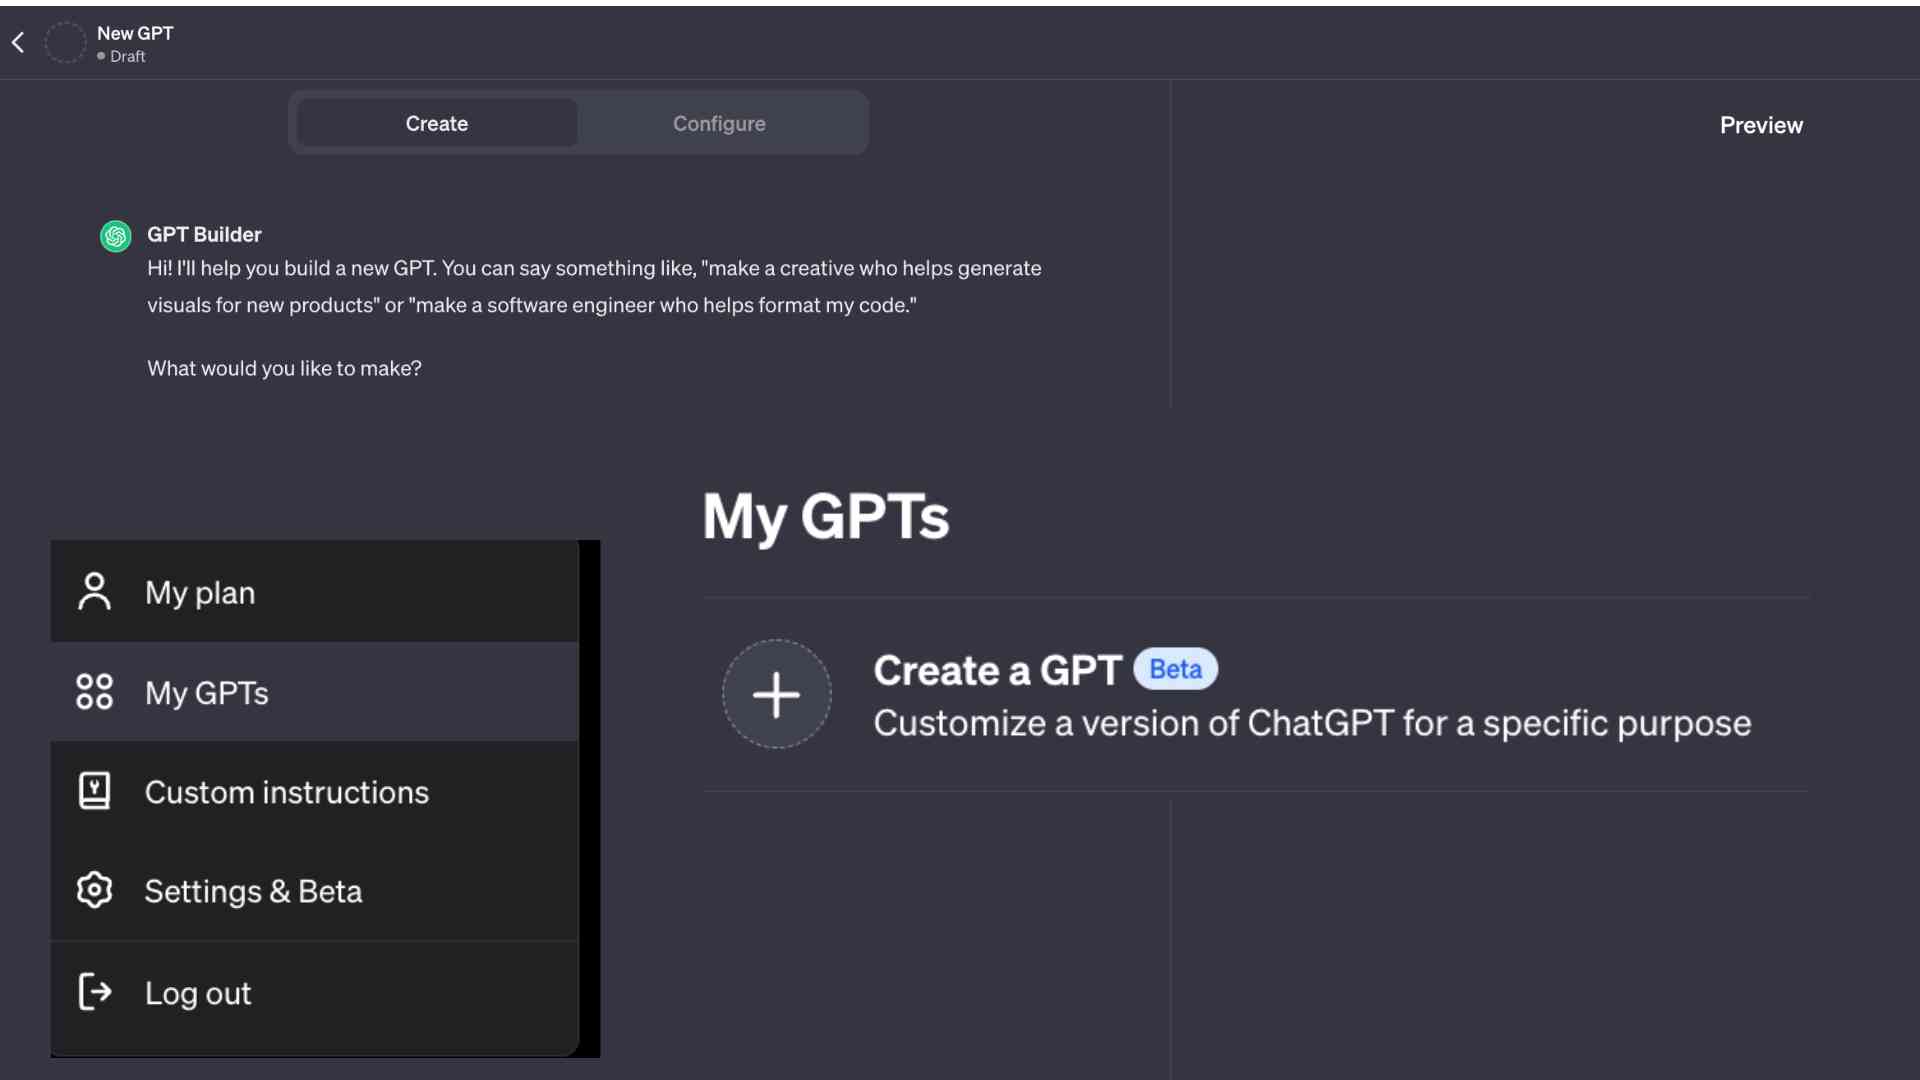
GPT Creation Step-by-Step
With the right approach, it takes about 10 minutes to create a simple personalized GPT. The first thing you need to do is to log in to your account and click on My GPTs in your profile. Then you can start creating your own GPT by clicking "Create a GPT".
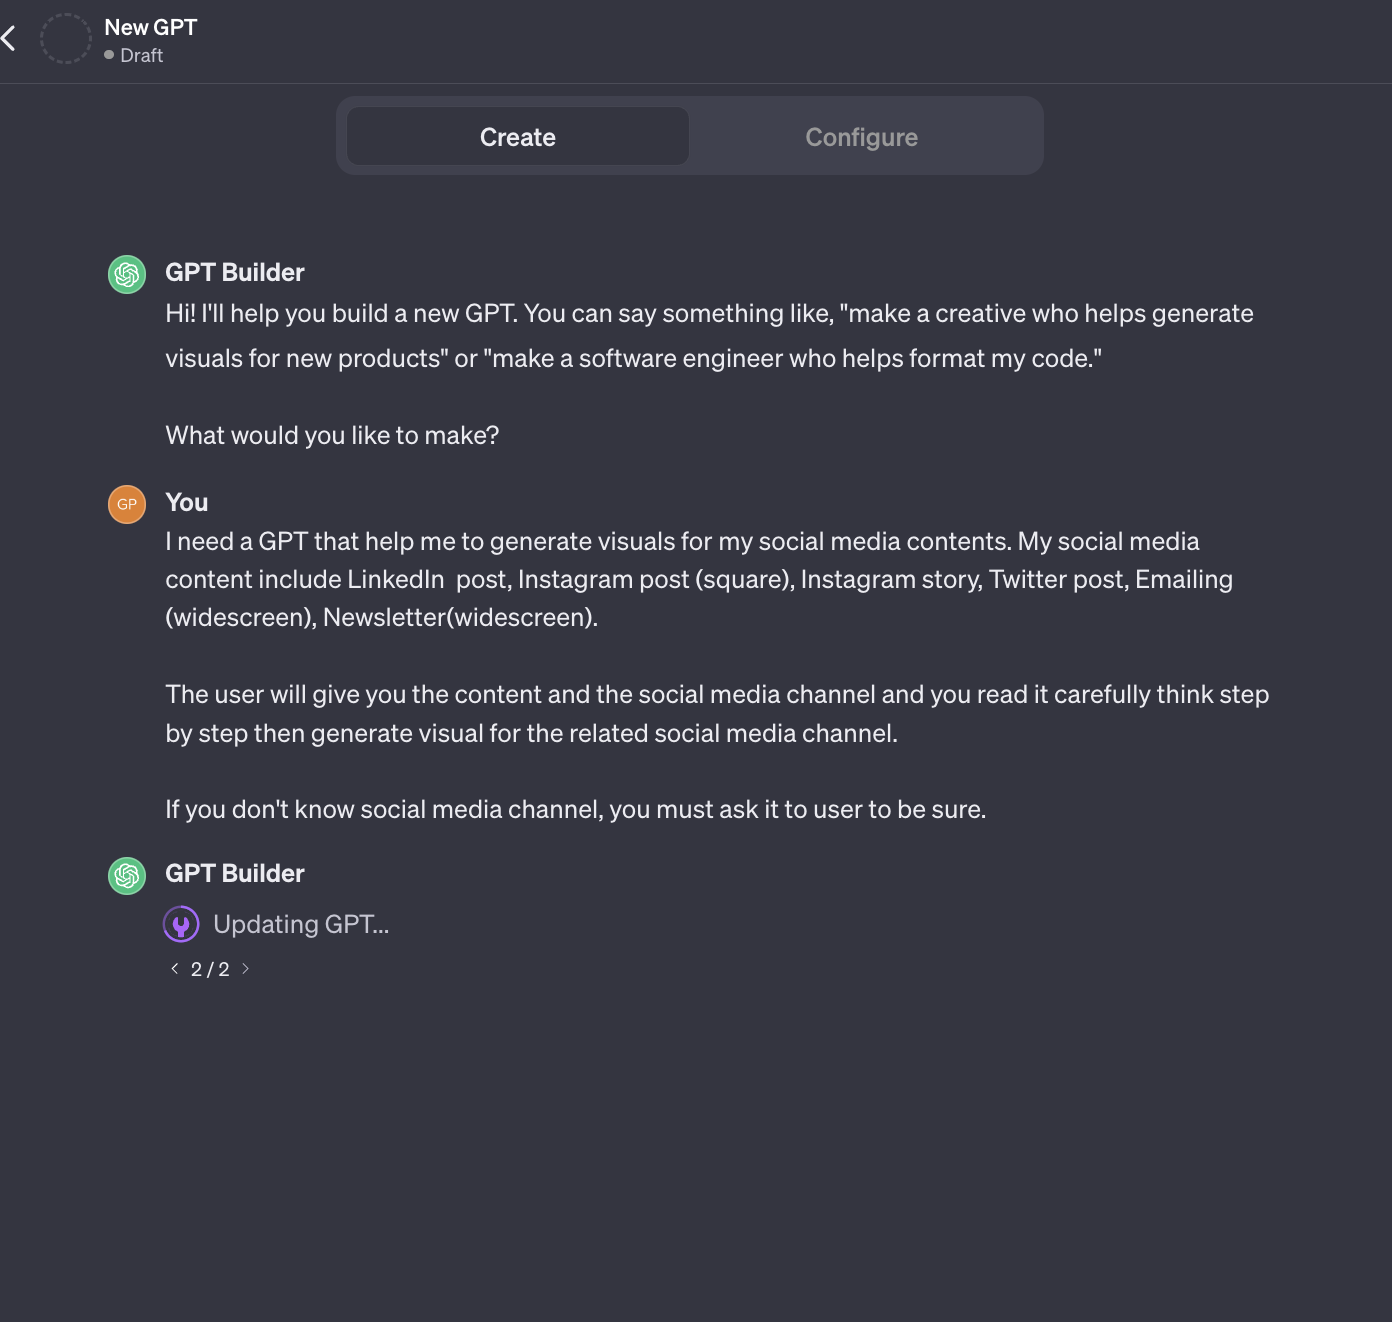
1. Determine the Purpose of your GPT
Start by clearly defining the intended use and use cases of your GPT. Express this when prompted. In this example, the purpose of my GPT is to create social media images for content such as blogs and social media.
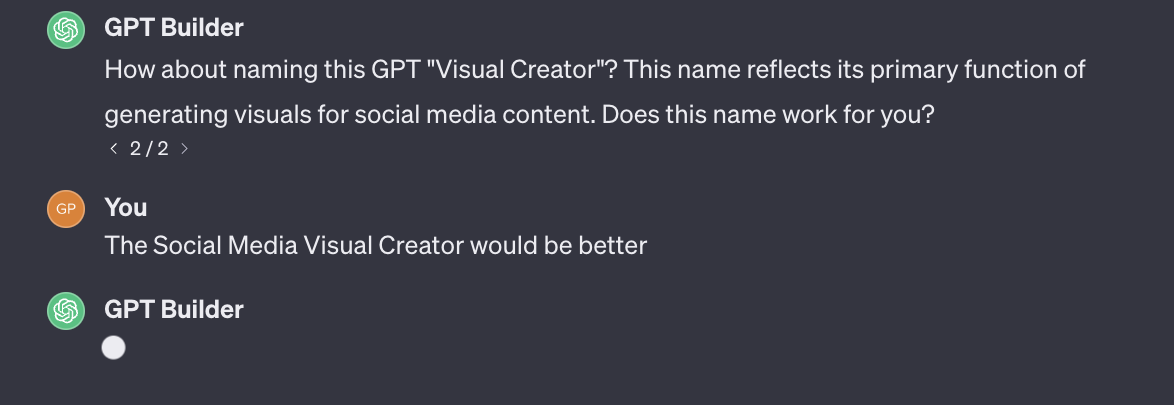
2. Name Your GPT
ChatGPT will suggest a suitable name for the purpose you have defined. You can confirm or change the name.
3. Choose the Appropriate Tone
Specify whether your GPT should use formal language or an informal conversational style. Or specify the styles to use if you want to generate images.
4. Summarize Prohibited Topics
Inform ChatGPT about sensitive topics that your GPT should avoid.
5. Provide Guidelines for Clarification Requests
Teach your GPT how to properly ask users for clarification when questions are not clear.
6. Concept Selection
Decide whether your GPT should explain concepts with examples or data-driven trends.
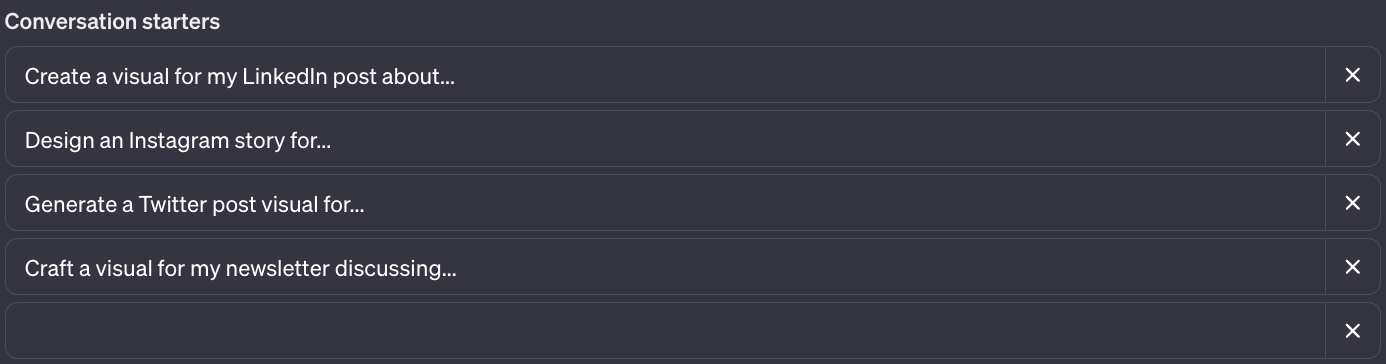
7. Customize GPT Bio and Chat Starters
Replace the defaults with engaging, relevant bio text and conversation starters.
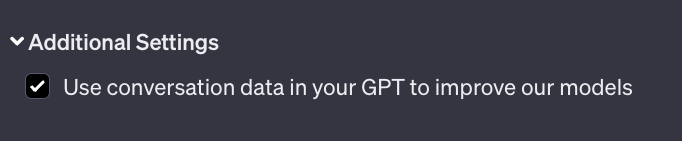
8. Give Additional Instructions to Improve Responses
Guide to further improve the contextual responses of your GPT. Improving the prompts you write will be very important in this regard. Also don't forget to check the optimization box in "Additional Settings".
9. Comprehensively Assess Your GPT
Rigorously test all elements before publishing to identify areas for improvement. You can send links to subject matter experts while doing this testing.
Avoiding Common Mistakes When Building Your GPT
Keep these pitfalls in mind when creating your GPTs:
- Trying to overcomplicate your first GPT.
- Forgetting to back up your prompts in case ChatGPT crashes.
- Neglecting to customize the default GPT bio and conversation starters.
- Pre-enabling too many features instead of starting with the basics.
- Releasing your GPT without extensive testing.
Advanced Options to Customize and Optimize Your GPT
Take advantage of these powerful configuration settings to enhance your finished GPTs:
Install Detailed Knowledge Bases
Add niche industry information or up-to-date data by uploading PDFs, text files, and more to train your GPT.

Enabling/Disabling Integrated Capabilities
Turn on/off built-in features such as web browsing, image creation, and code generation.

Connect to External Applications with Zapier
Integrate your GPT with other software like Gmail, Slack, Google Sheets, and more to unlock the potential for automation.
Use API to Retrieve Real-Time Data
Use APIs to enable your GPT to pull live data such as calendar information on command.
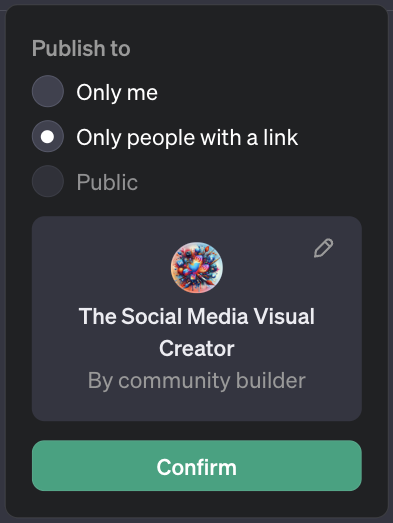
How to share your completed GPTs
Once your GPT is ready, be strategic about how you share it:
- Keep your GPT private while you perfect it, don't publish it immediately.
- Once you've perfected your GPT, make it public so it's discoverable in the GPT store.
- Share direct links to your GPT with colleagues for special use cases.
Conclusion
In this article, I explained what you need to know to create customized GPTs according to your goals using ChatGPT's new tool. With the right strategic approach, you can create personalized mini-AIs to improve workflows, generate passive income, drive traffic, and automate your tasks.
I hope these apps will increase your potential to create your own smart AI assistants with ChatGPT's user-friendly GPT builder.
This content was created by Ahmet Can Kavak, Marketing Manager at Zeo.


